
⚠️ Important — read this first! Check your Jetson UEFI firmware version before starting this guide. The install method you follow depends on it. Skipping this step is the most common reason setups go wrong.
Step 1: Check Your UEFI Firmware Version
Before anything else, confirm which firmware version your board is running.
Connect a DisplayPort monitor and a USB keyboard to the developer kit.
Connect the included 19V power supply to power on the board.
As soon as the NVIDIA boot splash appears, repeatedly press
Escto enter the UEFI setup menu.In the UEFI setup menu, find the firmware version line near the top of the screen.
Compare your version to
36.0:Firmware is newer than
36.0→ You're good to go. Skip ahead to Finally Getting Started.Firmware is
36.0or older → You'll need to update first. Continue to Updating the Firmware.
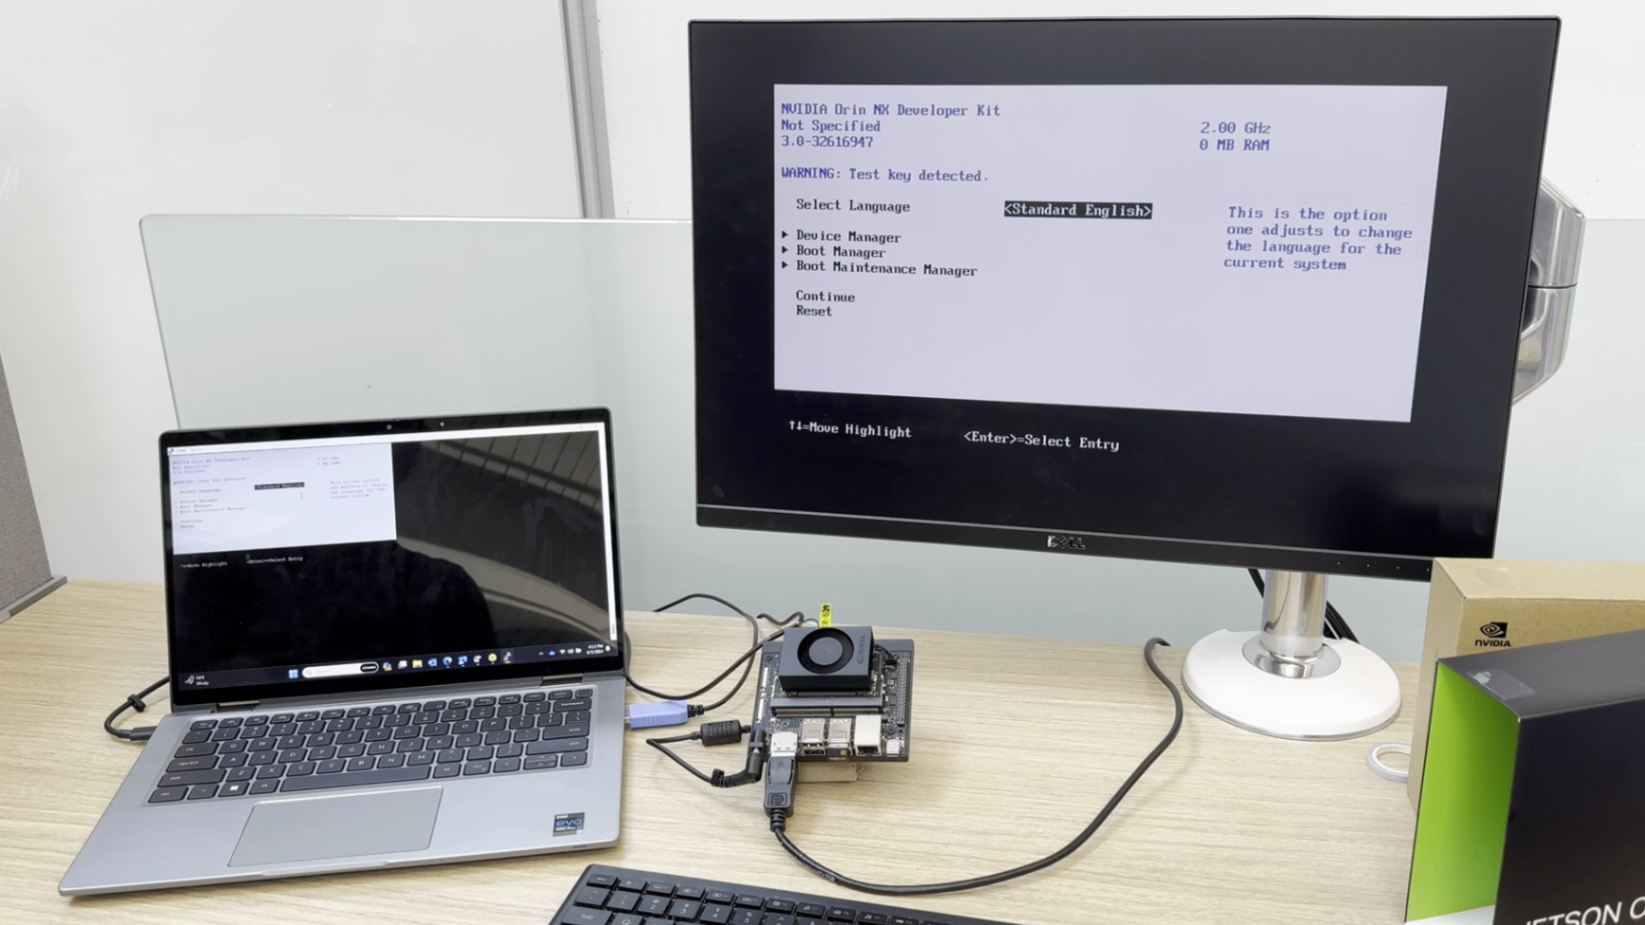 The setup should look somewhere along the lines of this.
Courtesy of Nvidia
Prerequisites
Gather these before you begin so you don't get stuck mid-setup.
Flashing tool — Download and install one of the following (either works):
Balena Etcher - https://etcher.balena.io/
Rufus - https://rufus.ie/en/
Booting from an SSD? Have a female-to-female jumper wire ready.
Jetson Linux image — Download the Jetson Linux OS image you'll be flashing. Current latest as of this guide: https://developer.nvidia.com/embedded/jetpack-sdk-513
An SD Card Reader ( needed if booting via an SD card)
Updating the Firmware
(Only needed if your firmware version is 36.0 or older)
⚠️⚠️⚠️⚠️⚠️ DO NOT unplug or power off the board while a firmware update is in progress — this can permanently damage (brick) the device. I AM NOT LIABLE IF YOU PREMANENTLY DAMAGE YOUR DEVICE. PROCEED WITH CAUTION!!!
Download the latest JetPack 5.1.3 SD card image for Jetson Orin Nano Developer Kit from the JetPack 5.1.3 page.
Write the image to SD card.
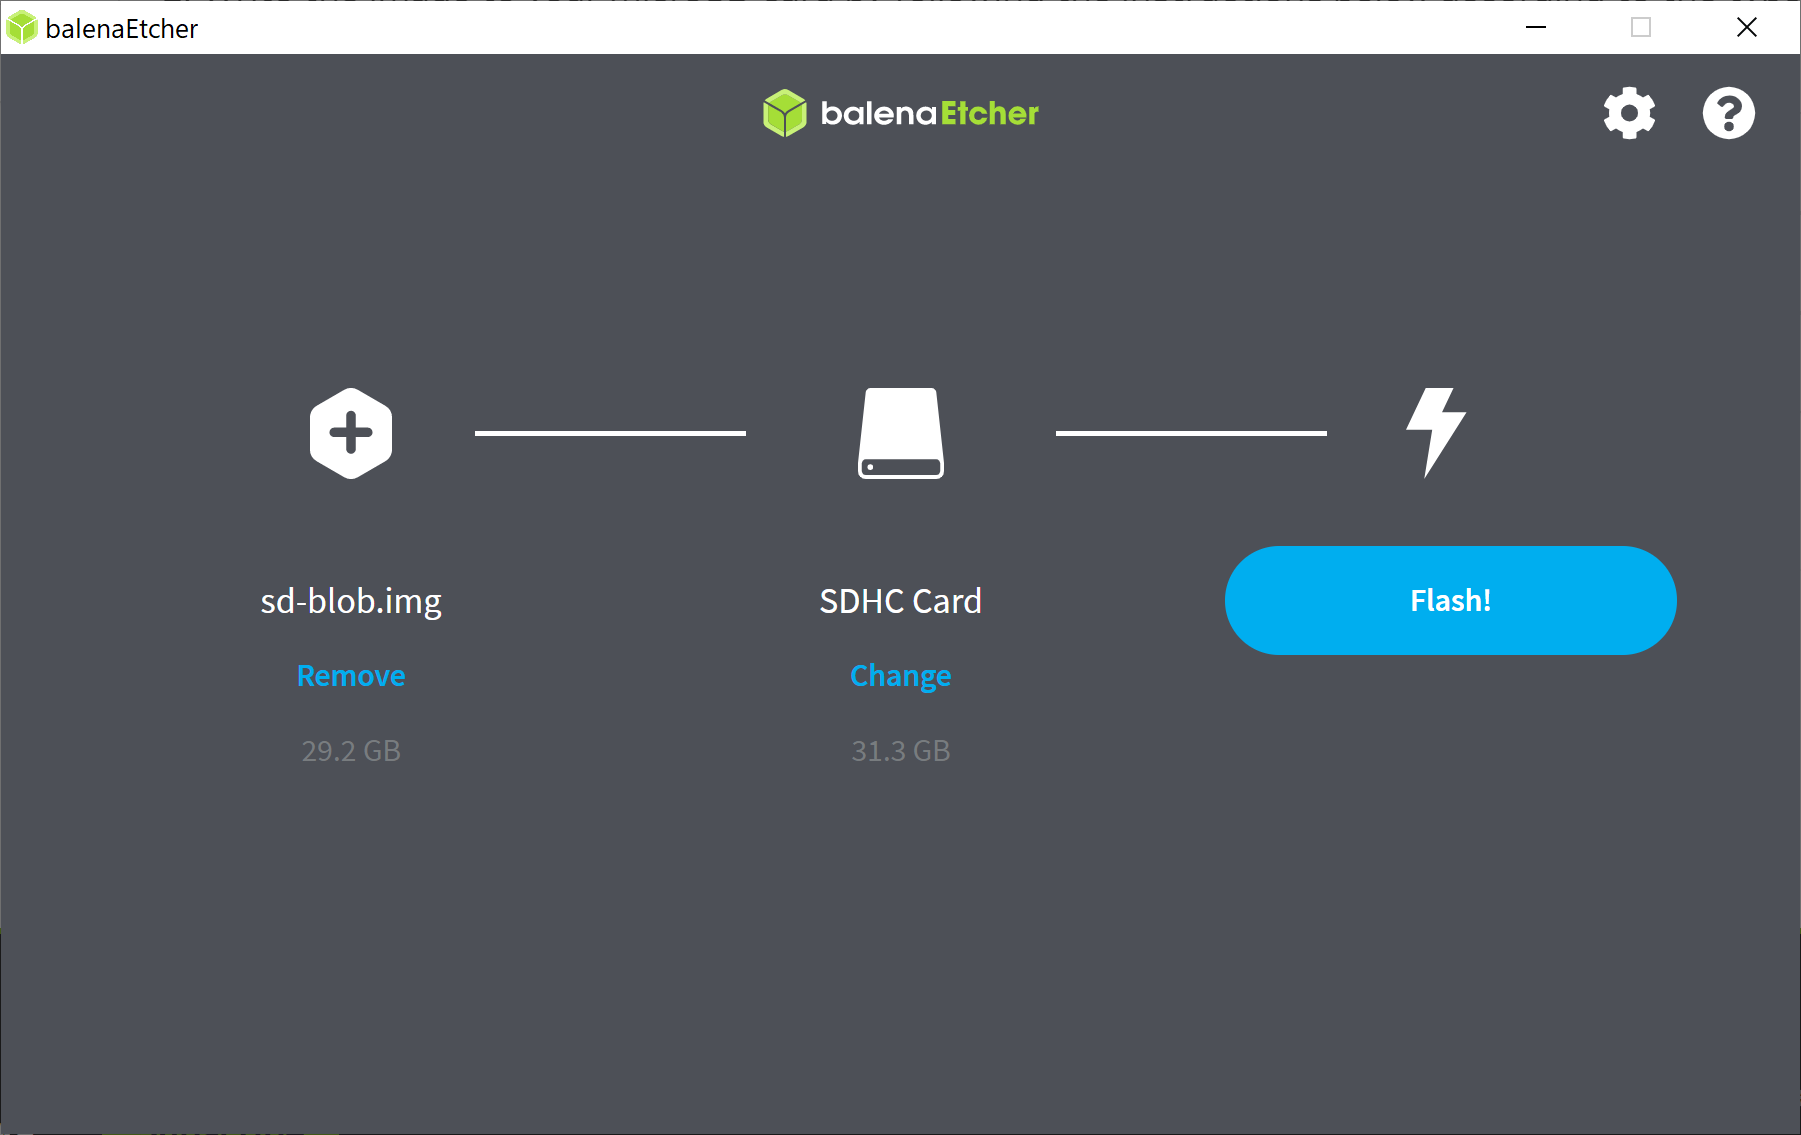
Connect the included 19V power supply.
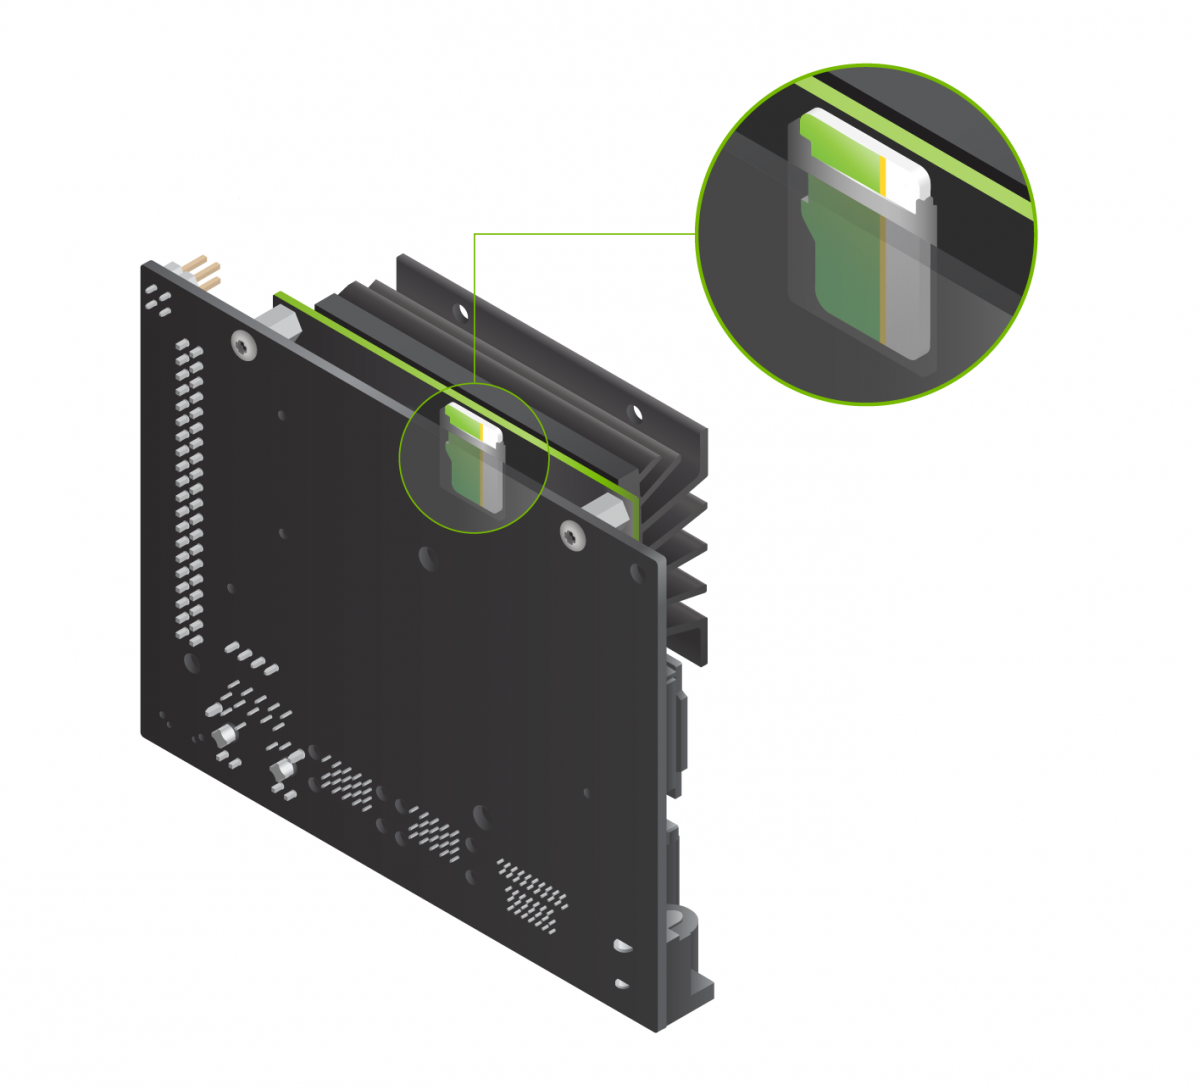
Insert the microSD into Jetson.
Complete the first-boot Ubuntu setup.
Connect the developer kit to the Internet.
After JetPack 5.1.3 boots, a background service schedules the firmware update. Wait and there will be a pop up requiring you to restart.
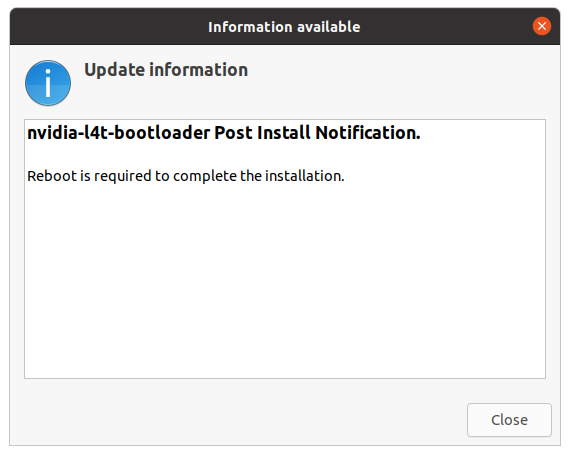
Reboot and During reboot, observe the firmware update progress.
After this step, the developer kit boots JetPack 5.1.3 again with updated UEFI firmware.
After the first firmware update, install the Jetson Orin Nano QSPI updater package.
sudo nvbootctrl dump-slots-info---- Output ----
Current version: 35.5.0
Capsule update status: 0
Current bootloader slot: A
Active bootloader slot: A
num_slots: 2
slot: 0, status: normal
slot: 1, status: normalsudo apt update
sudo apt install nvidia-l4t-jetson-orin-nano-qspi-updaterReboot the developer kit and allow the QSPI update to complete. This should update your firmware to the latest version.
After the QSPI update completes, the developer kit firmware is ready for JetPack 6.x, but the JetPack 5.1.3 microSD card is no longer the target boot media. Power off the developer kit and insert the target JetPack microSD card. (Flash your SD with new Jetson Linux and use that). This should update your Firmware
📖 Official firmware update instructions: https://docs.nvidia.com/jetson/orin-nano-devkit/user-guide/latest/update_firmware.html#boot-jetpack-5-1-3-sd-card
Once the firmware update is complete and the board reports a version newer than 36.0, continue to the next section.
Finally Getting Started!!!
Now you're ready to install Jetson Linux onto the board. There are two methods below — pick the one that matches your setup.
Option A: Install Using an SD Card
Best for a quick, simple setup.
Download the target JetPack SD card image. For JetPack 6.2.1, use the JetPack 6.2.1 page.
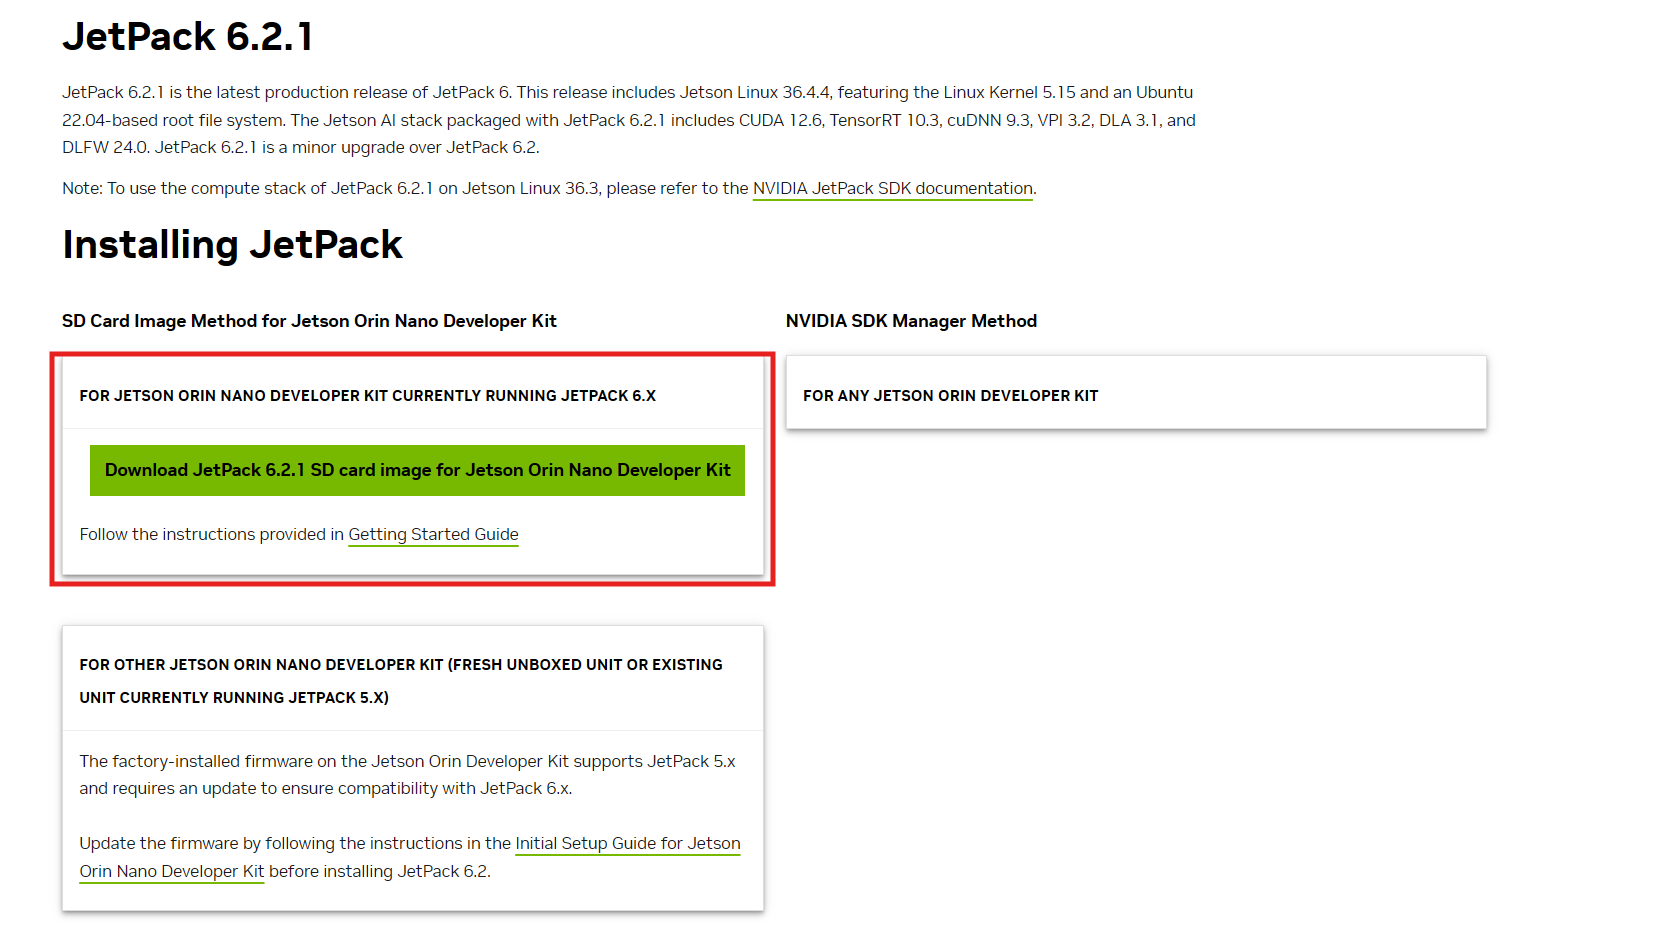
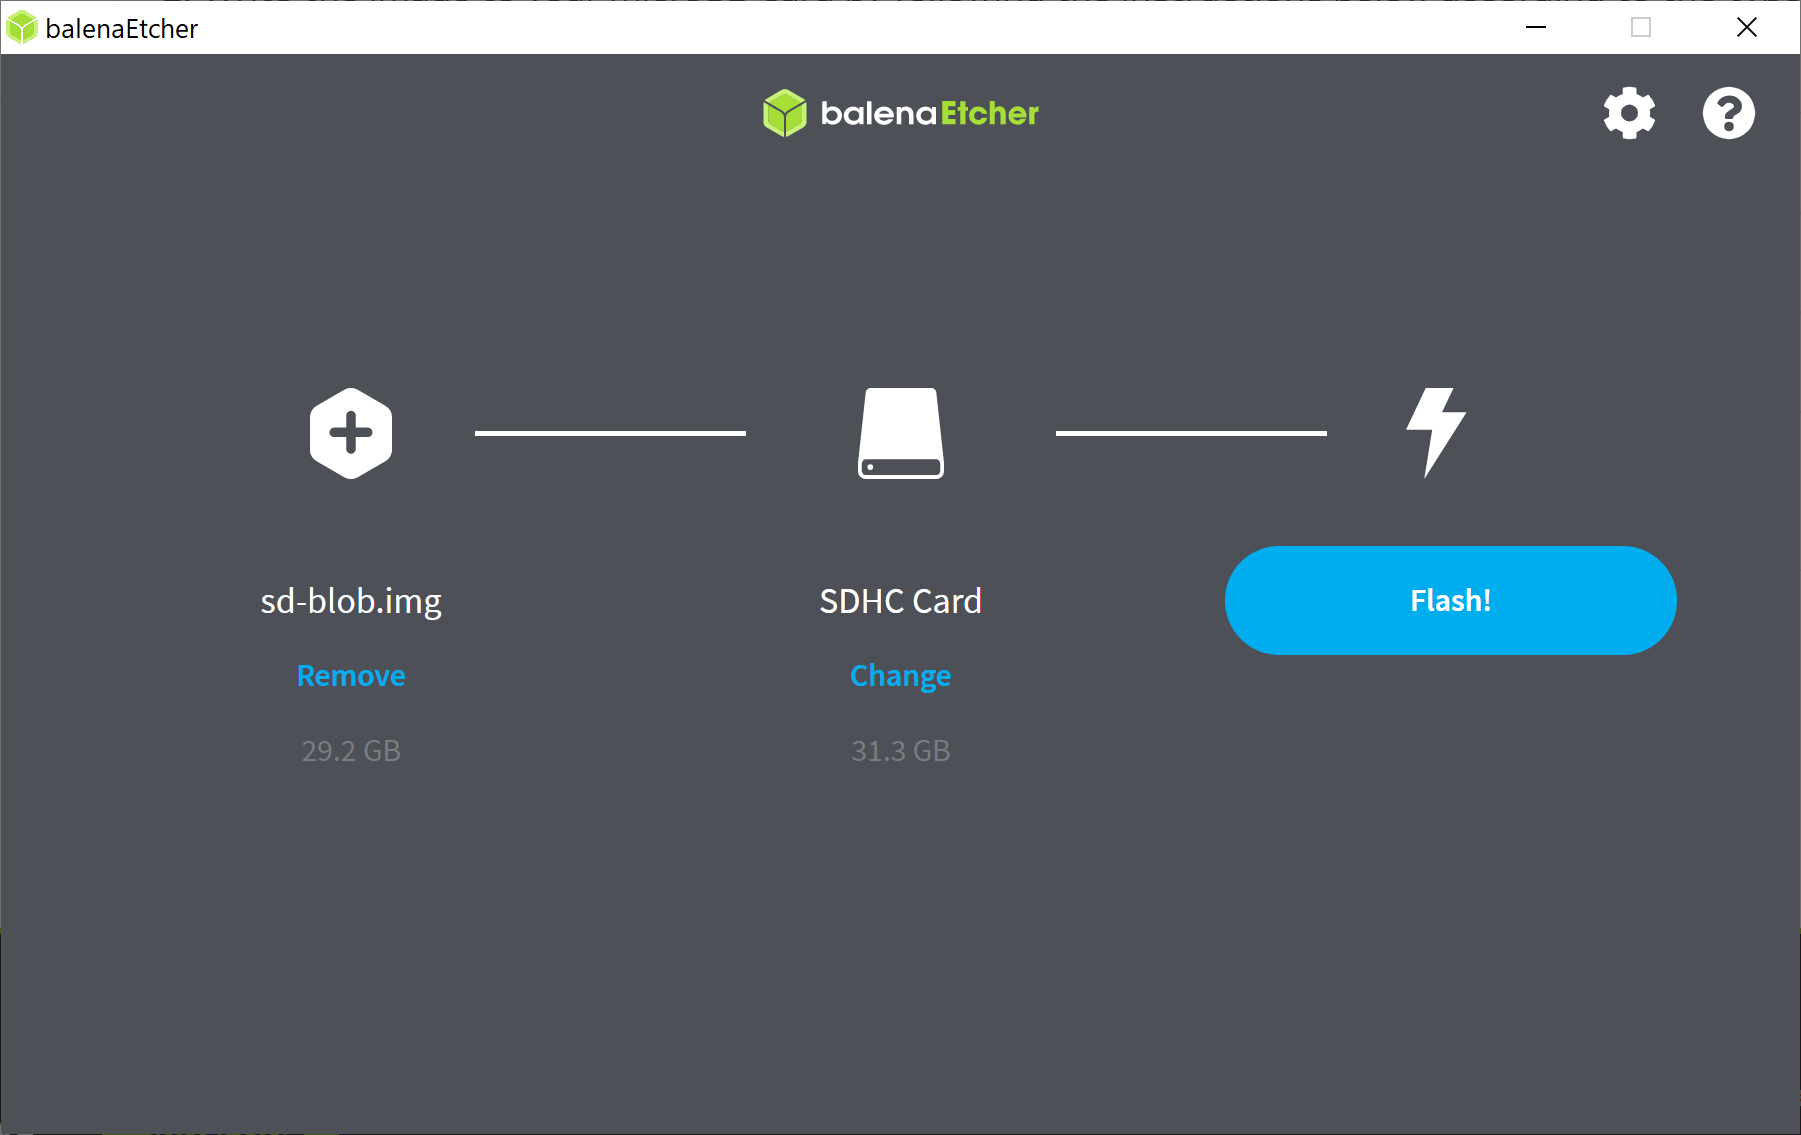
Write the image to the microSD card using Balena Etcher or Rufus.
Insert the microSD card into the Jetson Orin Nano module.
Connect the included 19V power supply.
Complete first-boot Ubuntu setup.
Check whether an additional Jetson UEFI firmware update was scheduled:
sudo systemctl status nv-l4t-bootloader-configRestart your Jetson Dev kit.
Option B: Install Using an SSD (Not tested on our Jetson Dev kit so refer to official instructions)
https://docs.nvidia.com/jetson/orin-nano-devkit/user-guide/latest/quick_start.html
You're Done!
Once installation finishes, your Jetson developer kit will boot into Jetson Linux and you can start building.